
I heard about Leah Buechley’s program to make electronics and coding more available to girls and women through linking it to fabric design. So I bought a copy of her Lilypad kit through Sparkfun and her tutorial book, Sew Electric.
This one slowed me right down because I had to learn to sew and learn the Arduino interface C language, both of which I’ve avoided in the past.
During the Christmas holidays I jumped to the third tutorial, an interactive stuffed monster. A trip to Mad Harry’s to buy felt, stuffing and a few other goodies and I was good to go.
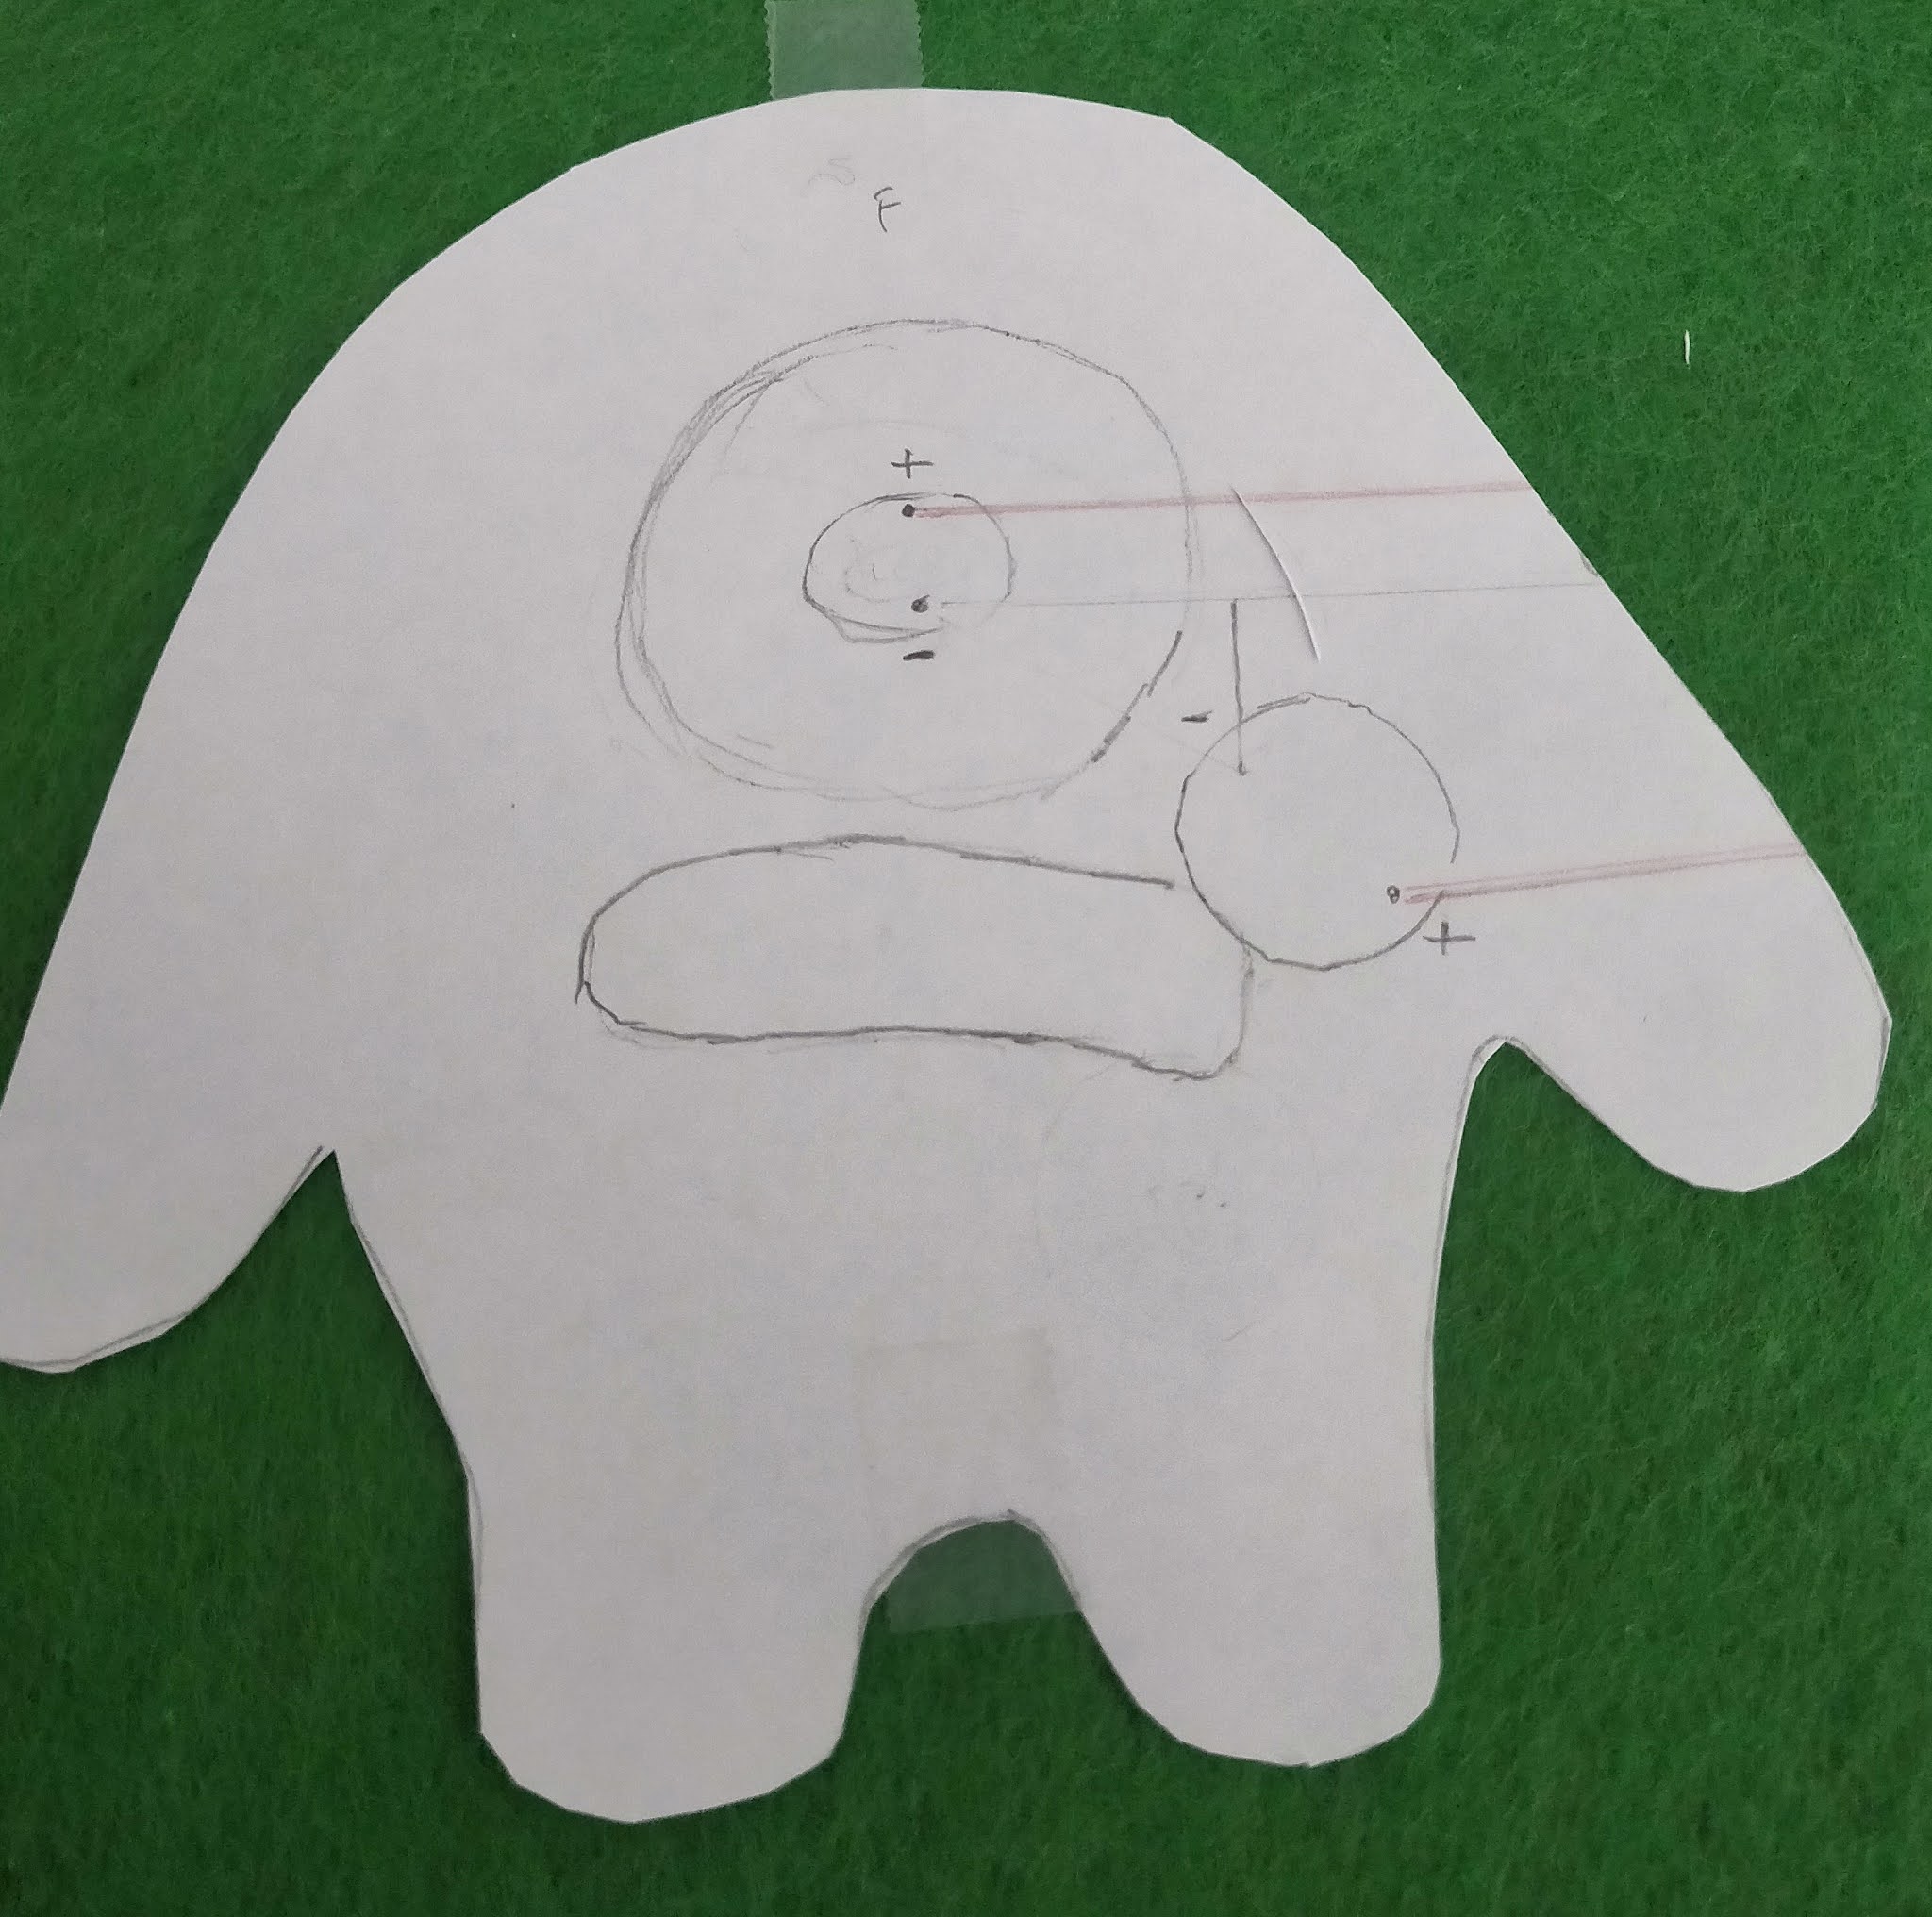
First step was design. Initially I designed my monster with 2 eyes but changed that to one when I realised there was only one LED in the kit.

The tutorial explained how to setup the circuits and how to get started on the sewing. I’m sewing with metal conductive thread. Doing the loop to obtain a knot was new to me. Also, I read a tip in another tutorial to put clear nail polish on the finished knots to prevent them fraying, so that’s important as well.

Then I went to the Arduino site and copied the code to make the LED blink. Success!

Next step was to attach the speaker, more sewing and then code to make the monster sing! It worked!
For a minute I thought I was nearly finished. But the next section was to attach some Aluminium paws to the monster. So, I had to order some Heat n Bond online and wait for that to arrive. Then with the Heat n Bond I added 4 little aluminium paws to my monster!

Then I sewed more metal thread so the paws became a part of the circuit too. Then back to the Arduino site to do more coding, so that when you hold the paws the monster sings; when you let go the monster blinks.
Just about finished now. Sewed up the monster and added some stuffing. Then I made an eye, mouth and teeth and stuck them on.


The LilyPad system was designed by Leah Buechley while pursuing her Ph.D. in computer science at the University of Colorado Boulder. The commercial version of the kit, which launched in 2007, was collaboratively designed by Leah and SparkFun Electronics
The Lilypad was pioneering in its time but is a bit dated now. Next time I’ll make something using the CPX and Flora RGB neopixels from adafruit.
Reference:Sew Electric: A Collection of DIY Projects the combine Fabric, Electronics and Programming by Leah Buechley and Kanjun Qiu (2013)
Arduino create web editor
Spark fun Lilypad
Footnote: How the code works. The analogRead values of the circuit are roughly 1024 by default. When we hold the aluminium foil hands of our monster, this drops the analogRead values below 990. The Serial.println(sensorValue) part of the code was used to obtain these values through the serial port. We write an ifelse statement, so that, by default, the LED in the eye blinks but when we hold the monster's hands the song plays and the eye stops blinking, temporarily. This part of the code is shown below:
void loop() {
sensorValue = analogRead(aluminiumFoil);
Serial.println(sensorValue); //send sensorValue to computer
delay(100);
// touching the aluminium foil drops the analogRead value below 990
if (sensorValue < 990)
{
song(2000);
}
else
{
blinkPattern();
}
}


No comments:
Post a Comment