What features do you want for a great background. I would say:
- speed of creation
- no gaps
- distinct brush strokes
- artistic curve and wave
- subtle colour variation

A circle moves rapidly across the screen from left to right while curving, waving and changing colour.
The speed is created by long and wide brush strokes,
pensize 7
arc angle = 360 (full circle), radius =500
With a diameter of 1000, this takes us outside the edges of the screen (680 x 550), which also means there are no gaps (nearly always)
The right amount of curve in the strokes is caused by the radius setting. If the radius is too large then there is not enought curve. If the radius is too small (eg. 250) then there are gaps at the top and bottom
The brushstroke effect is caused by the subtle colour changes, not the pensize (as I first thought)
The wave effect is achieved with right random(1 to -1). This outputs a value of 1, 0 or -1 creating an unpredictable wave.
The subtle colour change is caused by random ((-100 to 100) / 100). This outputs a decimal between -1 and +1 causing slight changes in the colour at each iteration.
In Turtle Art the number 0 represents red and as this changes through to 100 the colours vary according to the colour spectrum ROYGBIV.
I experimented with altering the start colour and achieved these effects:
Start colour = 0 (red)
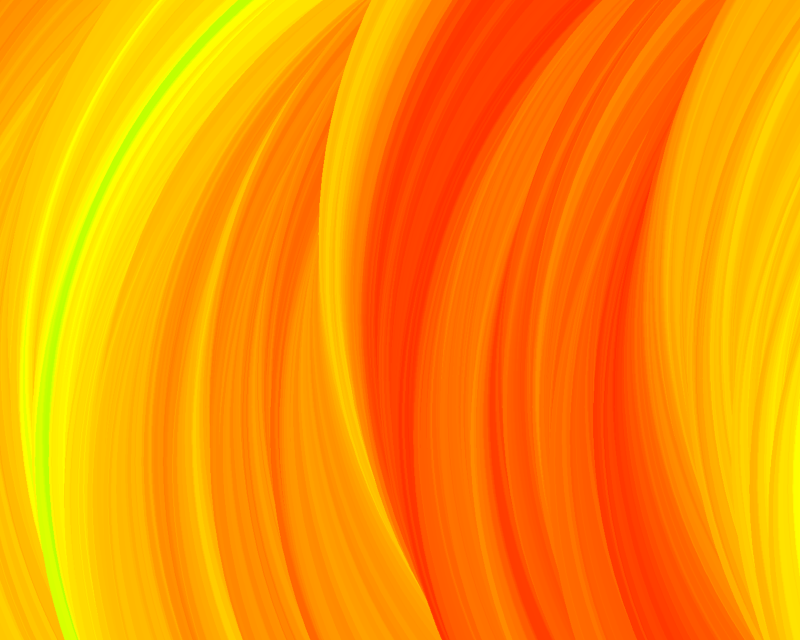
Start colour = 15 (yellow)

Start colour = 50 (cyan)

I then thought I might want browns for background. To achieve that I set the colour to orange (10) and introduced shade, making it 30 (0 gives black and 100 gives white). I also tweaked the random colour variation to random ((-25 to 25) / 100) so it didn't alter so much. Here is one result:

Then I thought a vertical wave rather than left to right would be interesting so I further tweaked the code for that. Here is how that one looked and the new code is underneath:


No comments:
Post a Comment